So, I realize most people are using their excellent assembly video:
…but if you’re like me and wished there were a written document you could reference instead of pausing and rewinding the video, here you go.
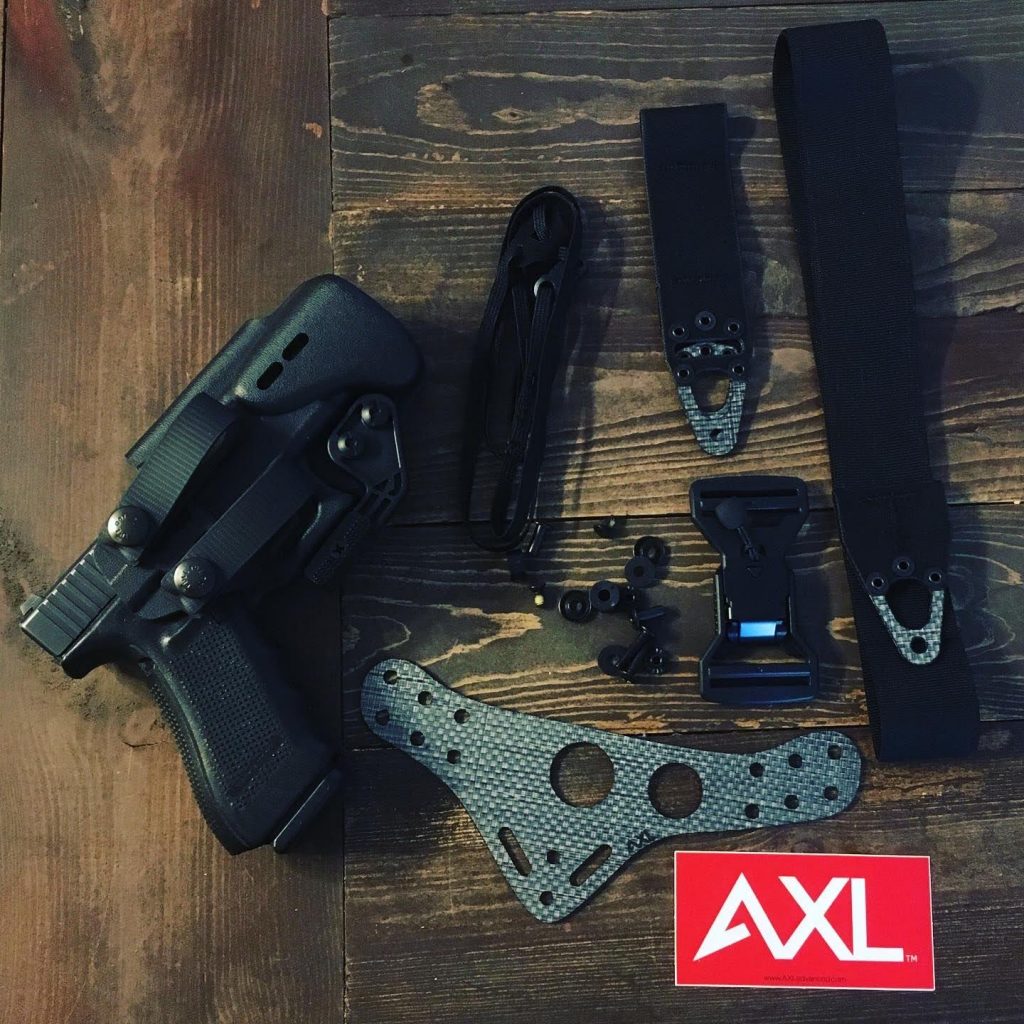
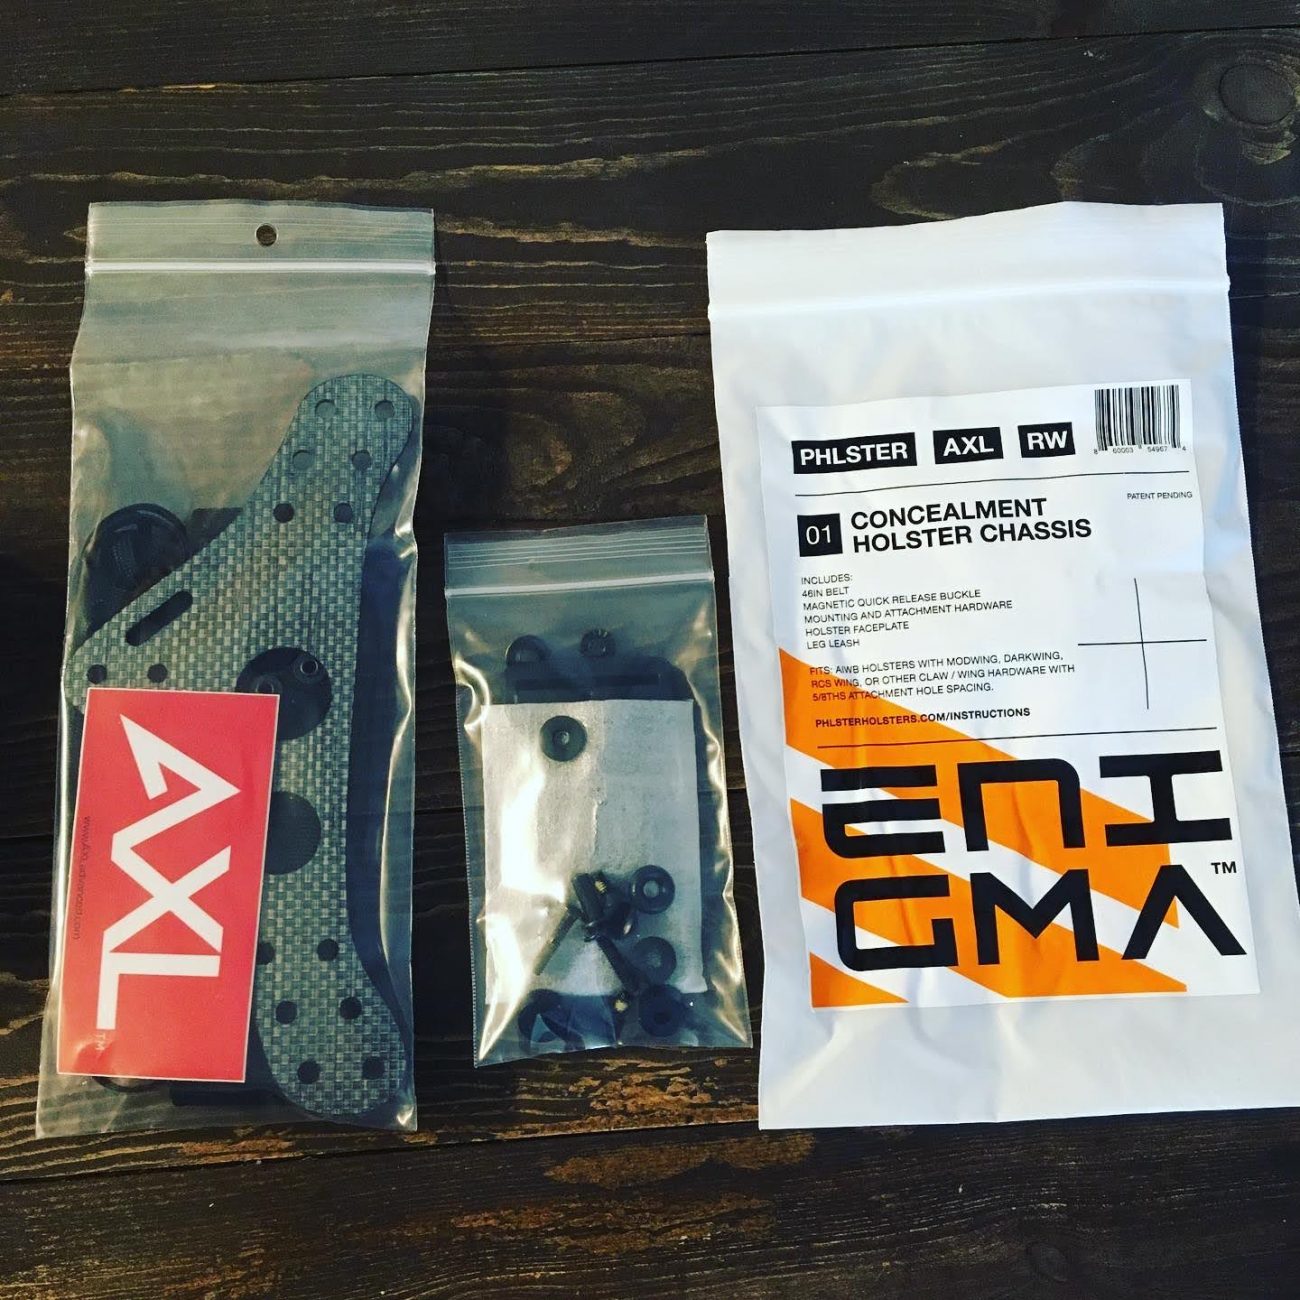
First, remove all the hardware from the holster you’ll be using (clips, belt loops, screws, posts, and so on).
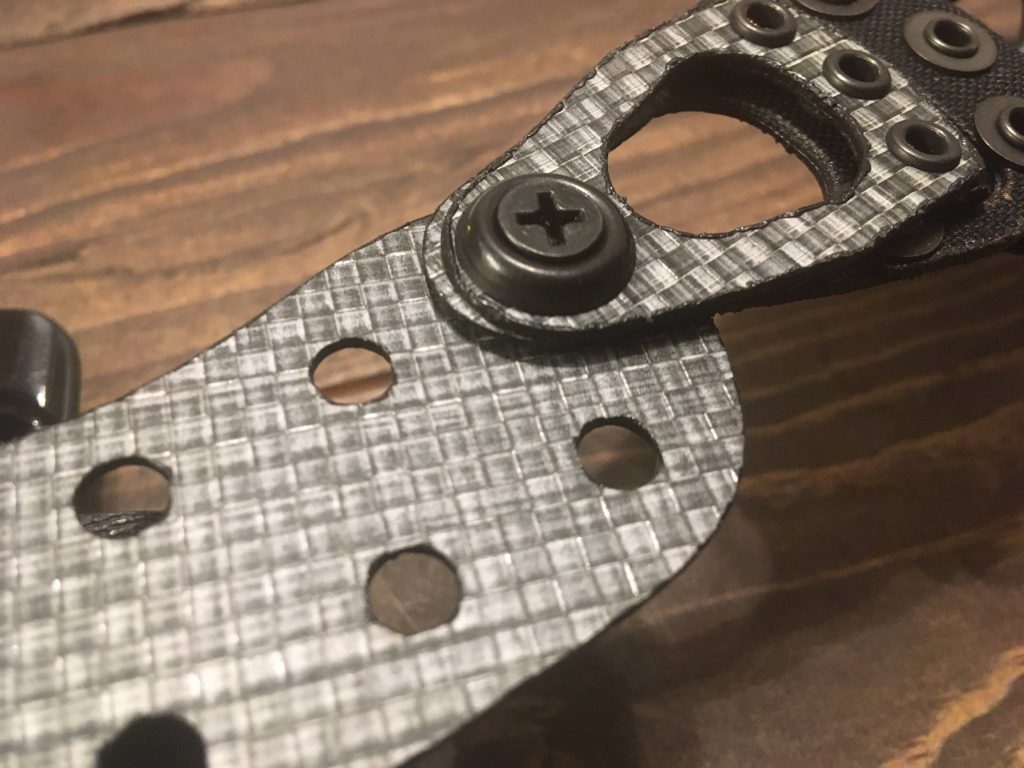
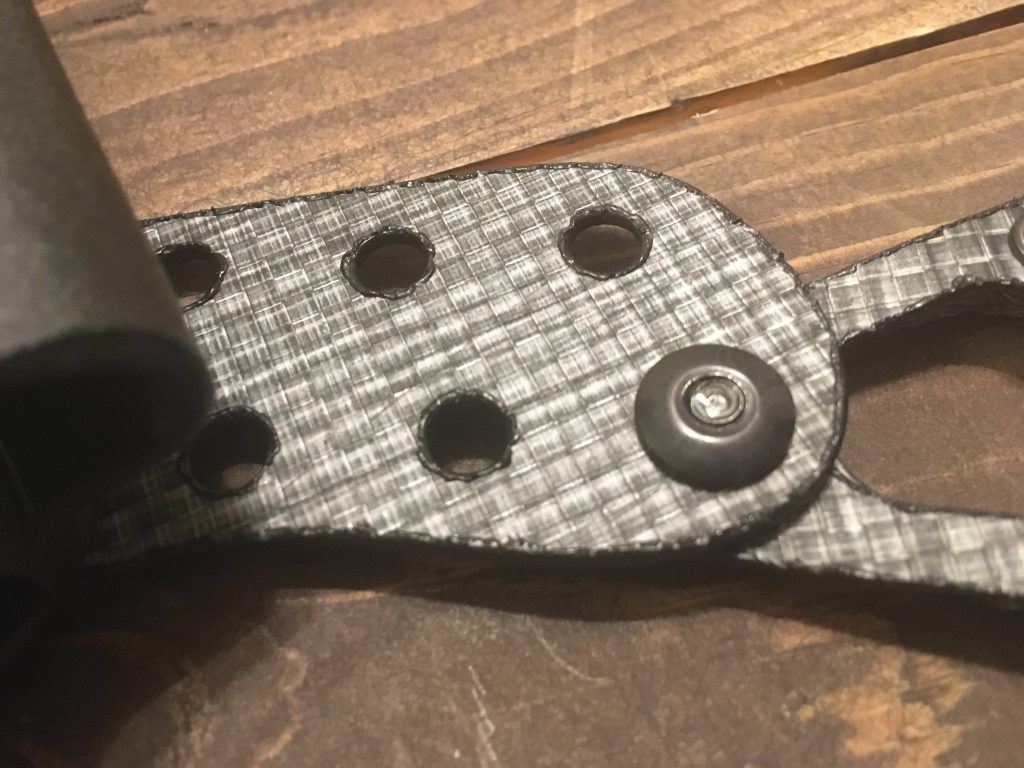
Girth hitch the garter strap around the faceplate (do this before you attach the faceplate to the holster like he says in the video, trust me). Make sure you have the correct orientation of the faceplate and garter strap, or it won’t work how you want it to (pictured below).
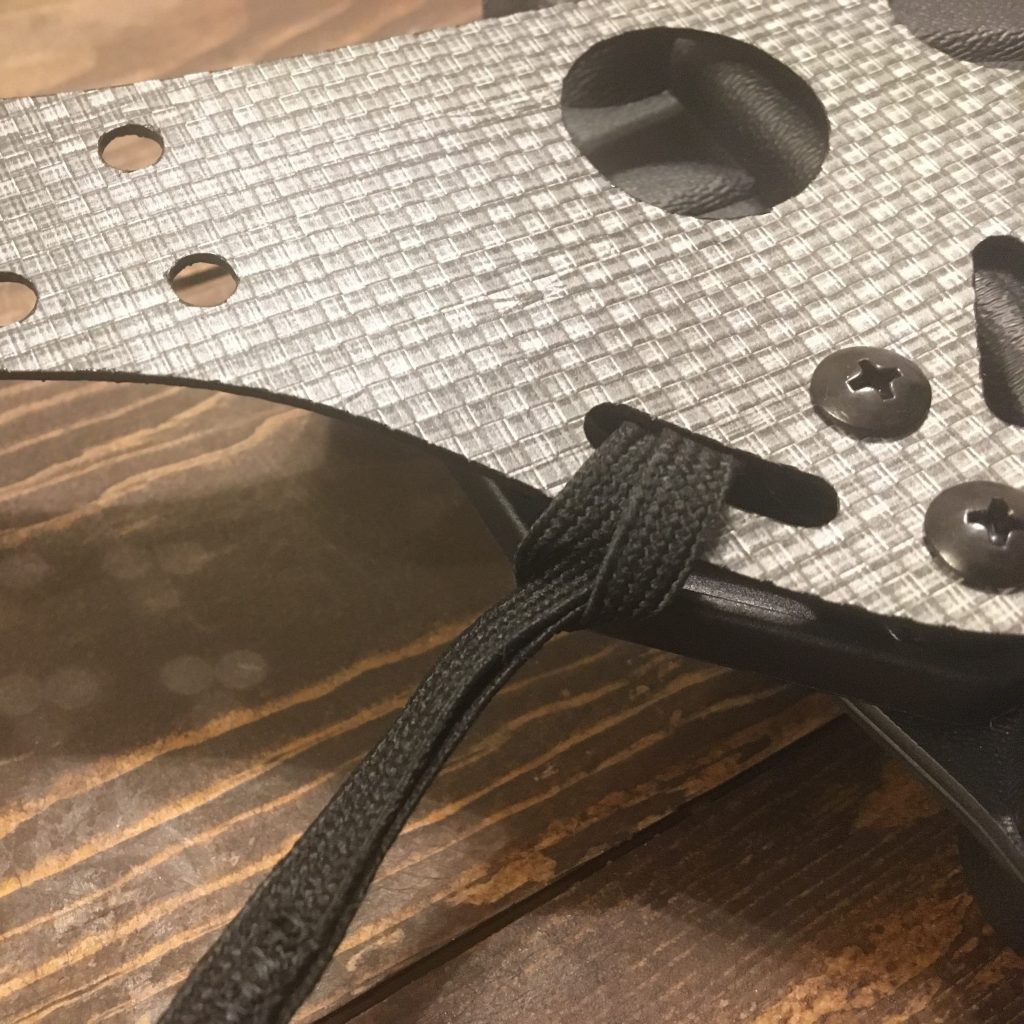
Girth hitch 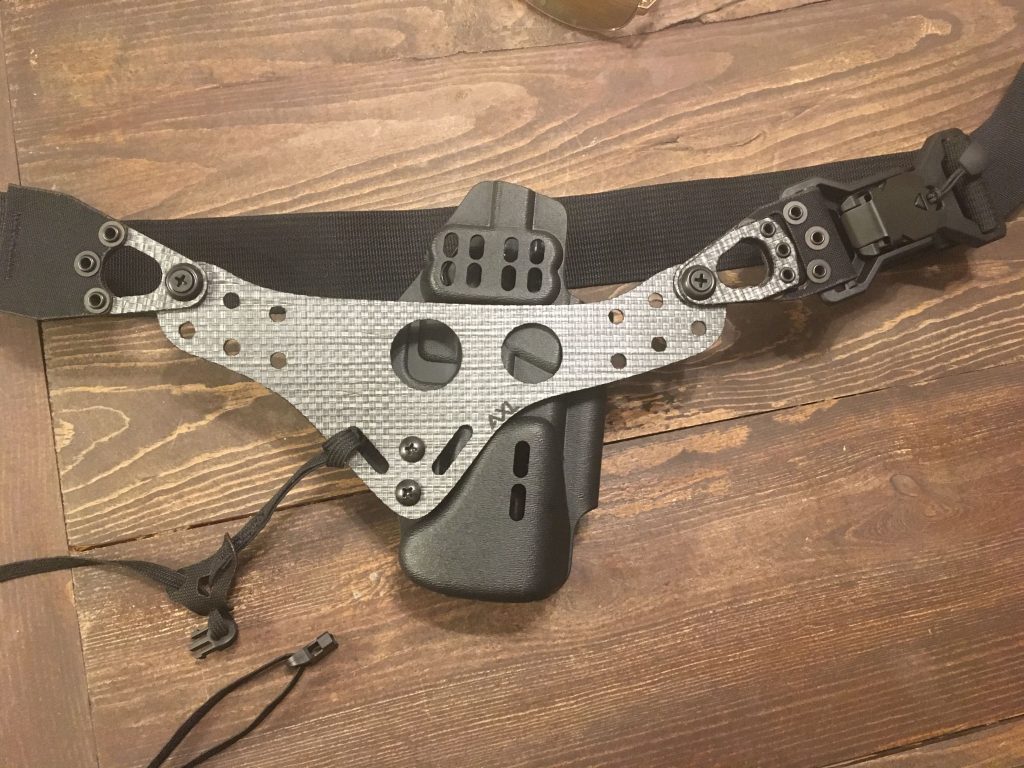
Correct orientation
Put the screws through the faceplate, then slide the supplied spacers and the wing from your holster on to the screws, in that order.
The long posts then go through the back of the holster, and attach to the screws that will be poking through the spacers a little bit.
Tighten the screws – now you have the faceplate/wing/holster assembly completed.

If you have an adjustable retention holster, I’d watch the video starting at about 1:35 for his explanation of how to handle that eventuality.
Now we’re going to attach the Fidlock buckle and belt to the assembly – Jon likes having it on the slide side of the holster to allow for weapon retention by the primary firing hand, but the choice is yours.
There’s a “male” and a “female” side to the buckle – the “male” side has the pull and the moving parts, the female side is a single piece.
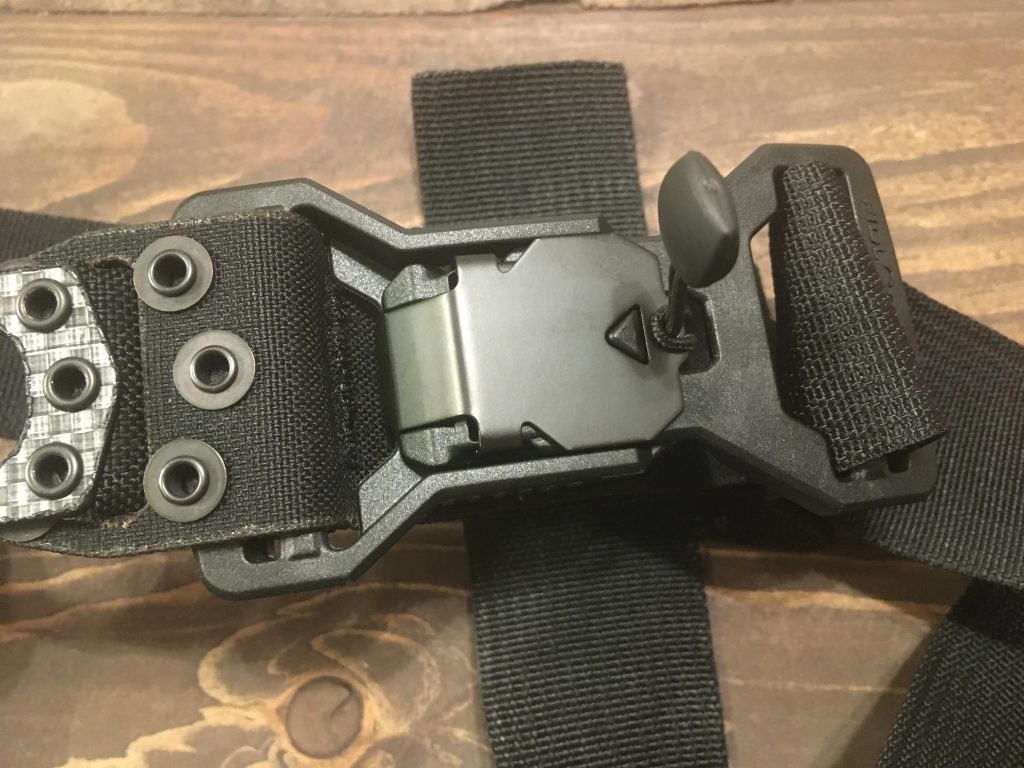
Male on the right, female on the left. 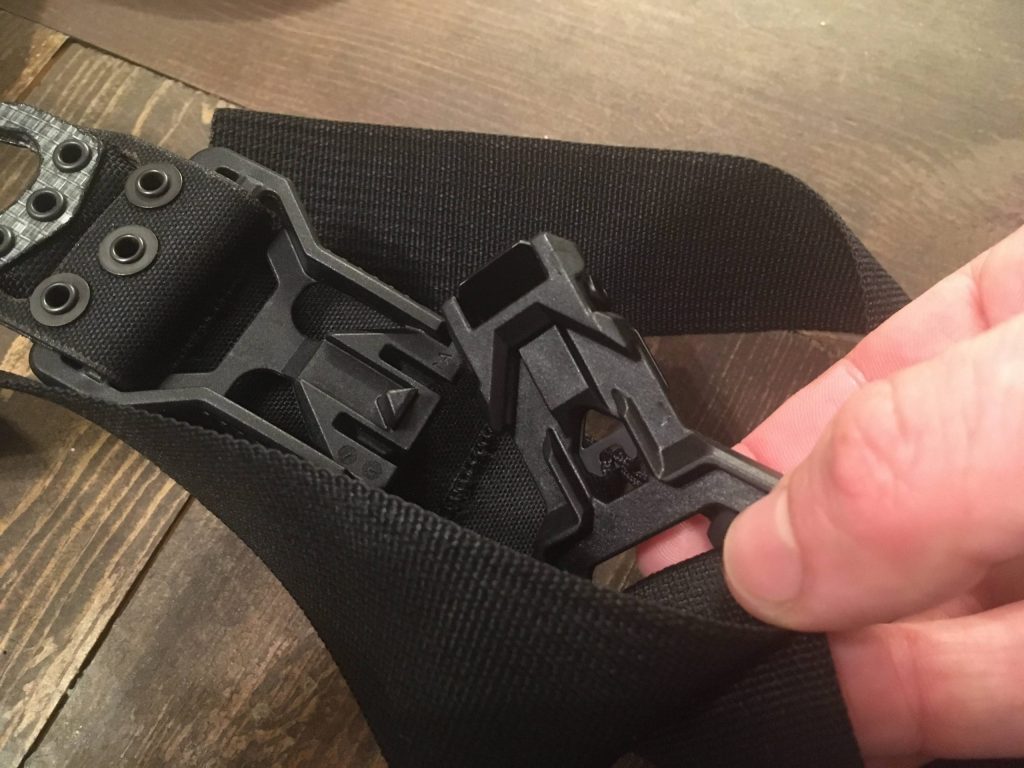
Same orientation
Using the small “buckle capture” piece, the female side of the Fidlock buckle has one of the gray polymer portions of the “capture” passed through it, then the other end of the “capture” passes back through the slot in the first end of the “capture” in a sort of interweaving motion shown below (or at 3:48 in the video).

First through the buckle, 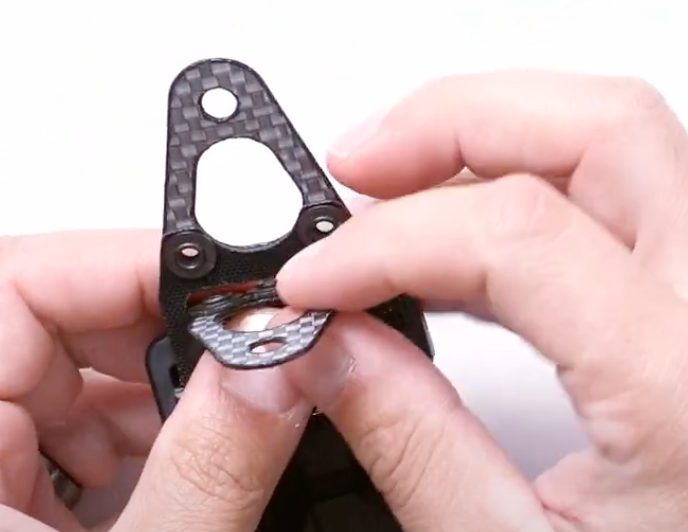
second through the first, 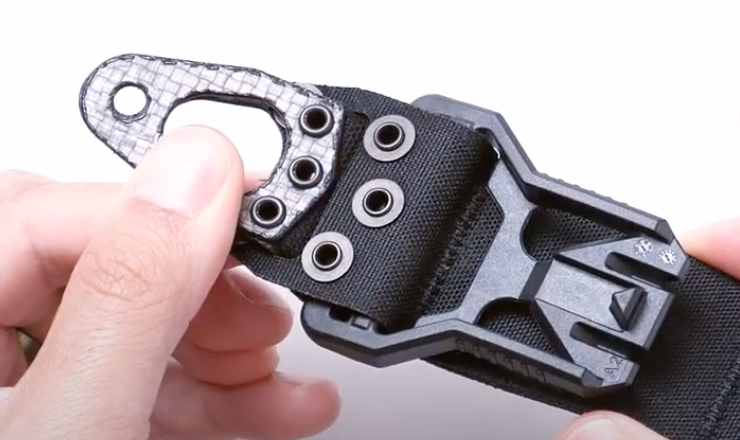
then flush.
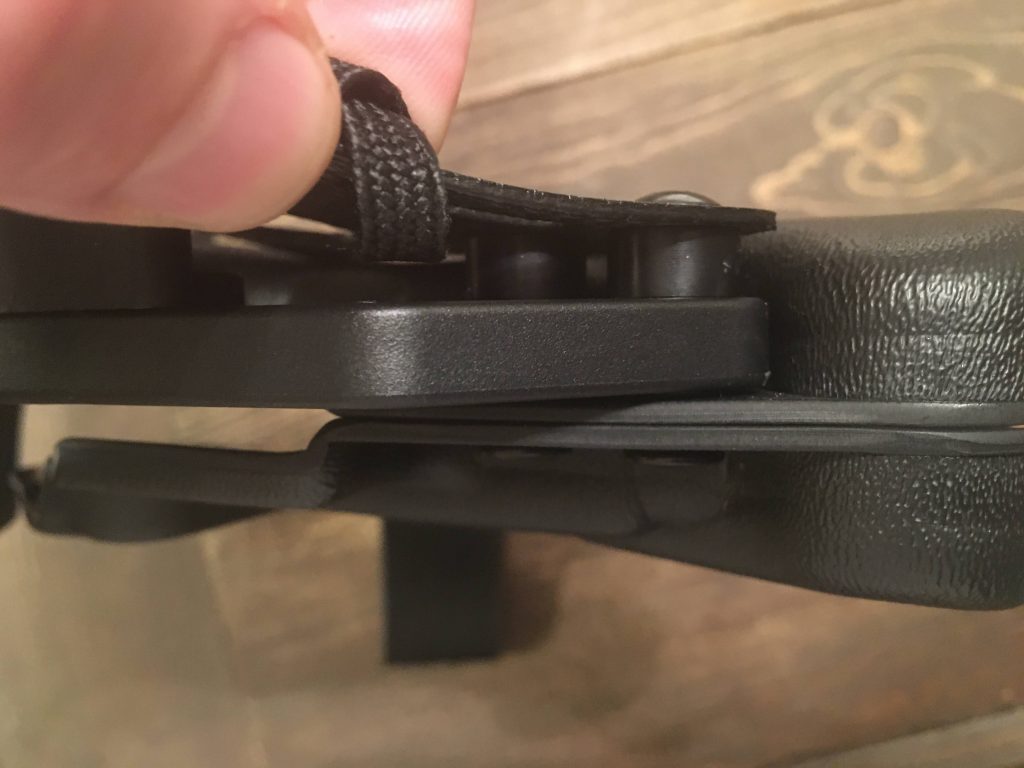
You want the fabric between the buckle and your body. Once you’ve verified this, connect the buckle capture to the assembly using the short post, spacer, short screw and finish washer – the short post comes from the back/body side of the assembly, the screw and finish washer come from the front/outside of the capture, and the spacer goes between the gray parts of the capture and the assembly.
Top to bottom: screw, finish washer, capture, spacer (hidden), faceplate, post (hidden).
You’ll want to tighten these screws fairly snugly, allowing the threadlocker they’ve helpfully pre-installed to work, and preventing them from working loose and your gun from falling down into your trouser leg.
Attach both the capture and the belt to the holster assembly the same way.
Once both the capture and the belt have been attached, feed the belt through the male end of the Fidlock buckle just like you would any other buckle. Trim the belt to length (just not too short).
There are a bunch more adjustment options and fiddly bits that are covered in his adjustment video that I’ll embed below. I just wanted to provide a simple, easy assembly option for those of you like me, who prefer to have a written document to look at.
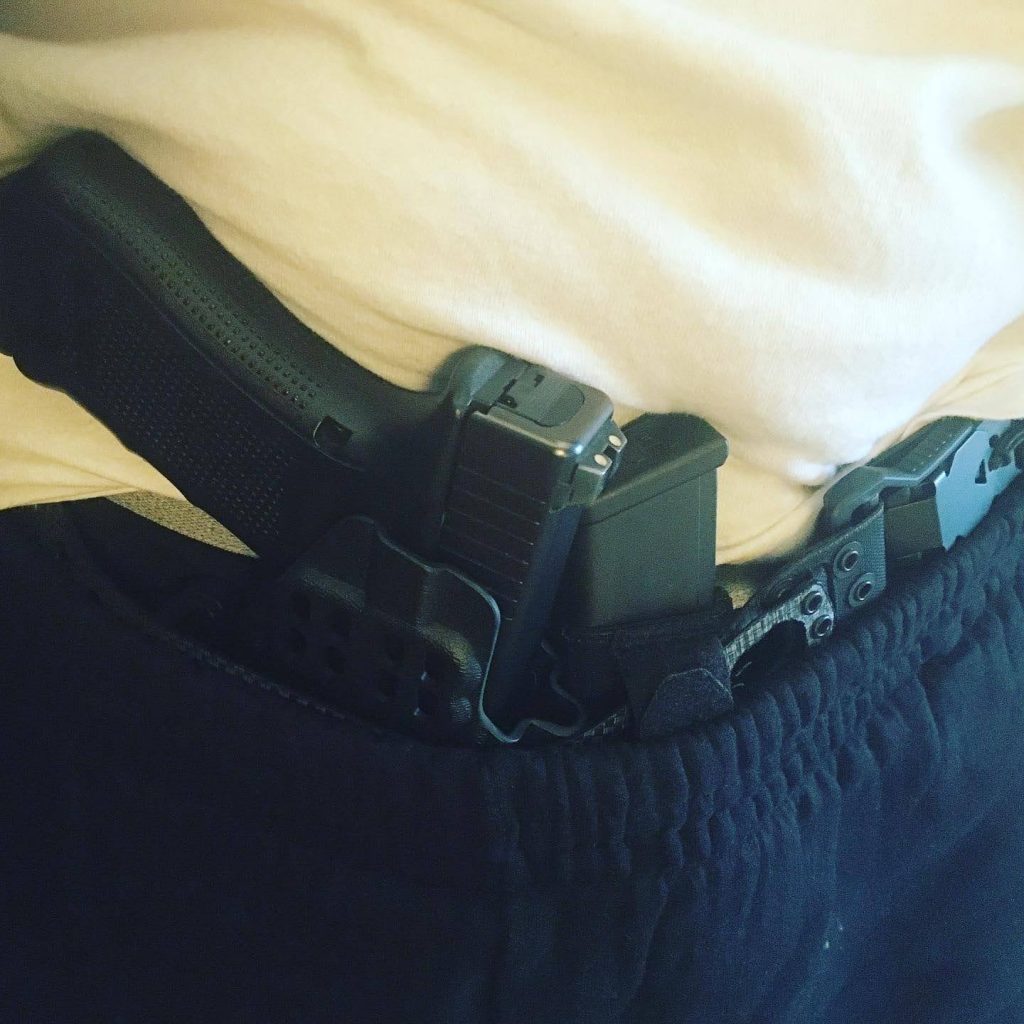
Thanks to Jon at PHLster for making an excellent product, I’ve been enjoying how comfortably it conceals, even in sweatpants, and look forward to continuing to put it through its paces!
-Tim
P.S. While we’re on the topic of videos, go check out our YouTube channel and subscribe – there’s only a small library of content right now, but we’re putting out more content all the time!